To fix shoes with glue, clean the surfaces, apply glue, press together firmly, and let dry. Repairing shoes with glue is a quick and cost-effective solution for minor damages.
Whether it’s a detached sole or a loose heel, using the right type of adhesive can extend the life of your favorite pair of shoes. By following simple steps, you can restore your shoes to their former glory without breaking the bank.
Glue can be a handy tool for DIY shoe repairs, saving you time and money in the process. So, grab your adhesive and get ready to fix your shoes in no time!
Why Use Glue For Shoe Repairs?
Glue is a cost-effective and efficient solution for fixing various issues with shoes.
Benefits Of Using Glue
- Quick Fix: Glue provides a fast way to repair minor damages on shoes.
- Cost-Effective: Repairing shoes with glue is more affordable than buying new ones.
- Durability: High-quality glues can create strong bonds, extending the lifespan of shoes.
Types Of Glue To Use
| Glue Type | Best For |
|---|---|
| Synthetic Rubber Adhesive | Fixing soles and heels |
| Silicone Adhesive | Repairing leather shoes |
| Super Glue (Cyanoacrylate) | Mending small tears and attaching embellishments |

Credit: m.youtube.com
Preparation For Shoe Repairs
Preparation for Shoe Repairs is an essential step in the process of fixing shoes with glue. Taking the time to properly prepare the affected area and gather the necessary tools and materials can ensure a successful and long-lasting repair. This section will guide you through the key steps to prepare for repairing your shoes, setting the stage for a reliable and durable fix.
Cleaning The Affected Area
Before applying any glue to your shoes, it’s crucial to thoroughly clean the affected area to ensure optimal adhesion. Start by removing any dirt, dust, or debris from the surface of the shoe using a soft-bristled brush or a damp cloth. For tougher stains or residues, consider using a mild soap solution and gently scrubbing the area. Allow the shoe to dry completely before proceeding with the repair to ensure the best possible bond between the glue and the shoe material.
Gathering Necessary Tools And Materials
Having the right tools and materials at hand is vital for a successful shoe repair. Make sure to gather the following items before starting the repair process:
- High-quality shoe glue: Look for a specialized adhesive designed for bonding shoe materials such as leather, rubber, or fabric.
- Clamps or clips: These will help to hold the repaired area in place while the glue sets.
- Sandpaper: Use fine-grit sandpaper to lightly roughen the surface of the shoe for better adhesive bonding.
- Protective gloves: To keep your hands clean and protected while handling the glue and other materials.
- Clean cloth: Use a soft, lint-free cloth for applying and wiping off excess glue.
- Optional: Leather conditioner or polish: If repairing leather shoes, having these items on hand can help restore the appearance of the repaired area.
Steps For Repairing Shoes With Glue
When it comes to extending the life of your favorite pair of shoes, using glue for repairs can be a quick and cost-effective solution. Whether dealing with a detached sole, a loose heel, or a separated seam, knowing how to fix shoes with glue can help you maintain your footwear in good condition. Below are the steps for repairing shoes with glue.
Identifying The Type Of Shoe Damage
Before proceeding with any repair, it’s crucial to identify the specific type of damage your shoes have sustained. Whether it’s a sole separation, a detached heel, or a torn seam, understanding the nature of the damage will guide you in choosing the appropriate glue and repair method.
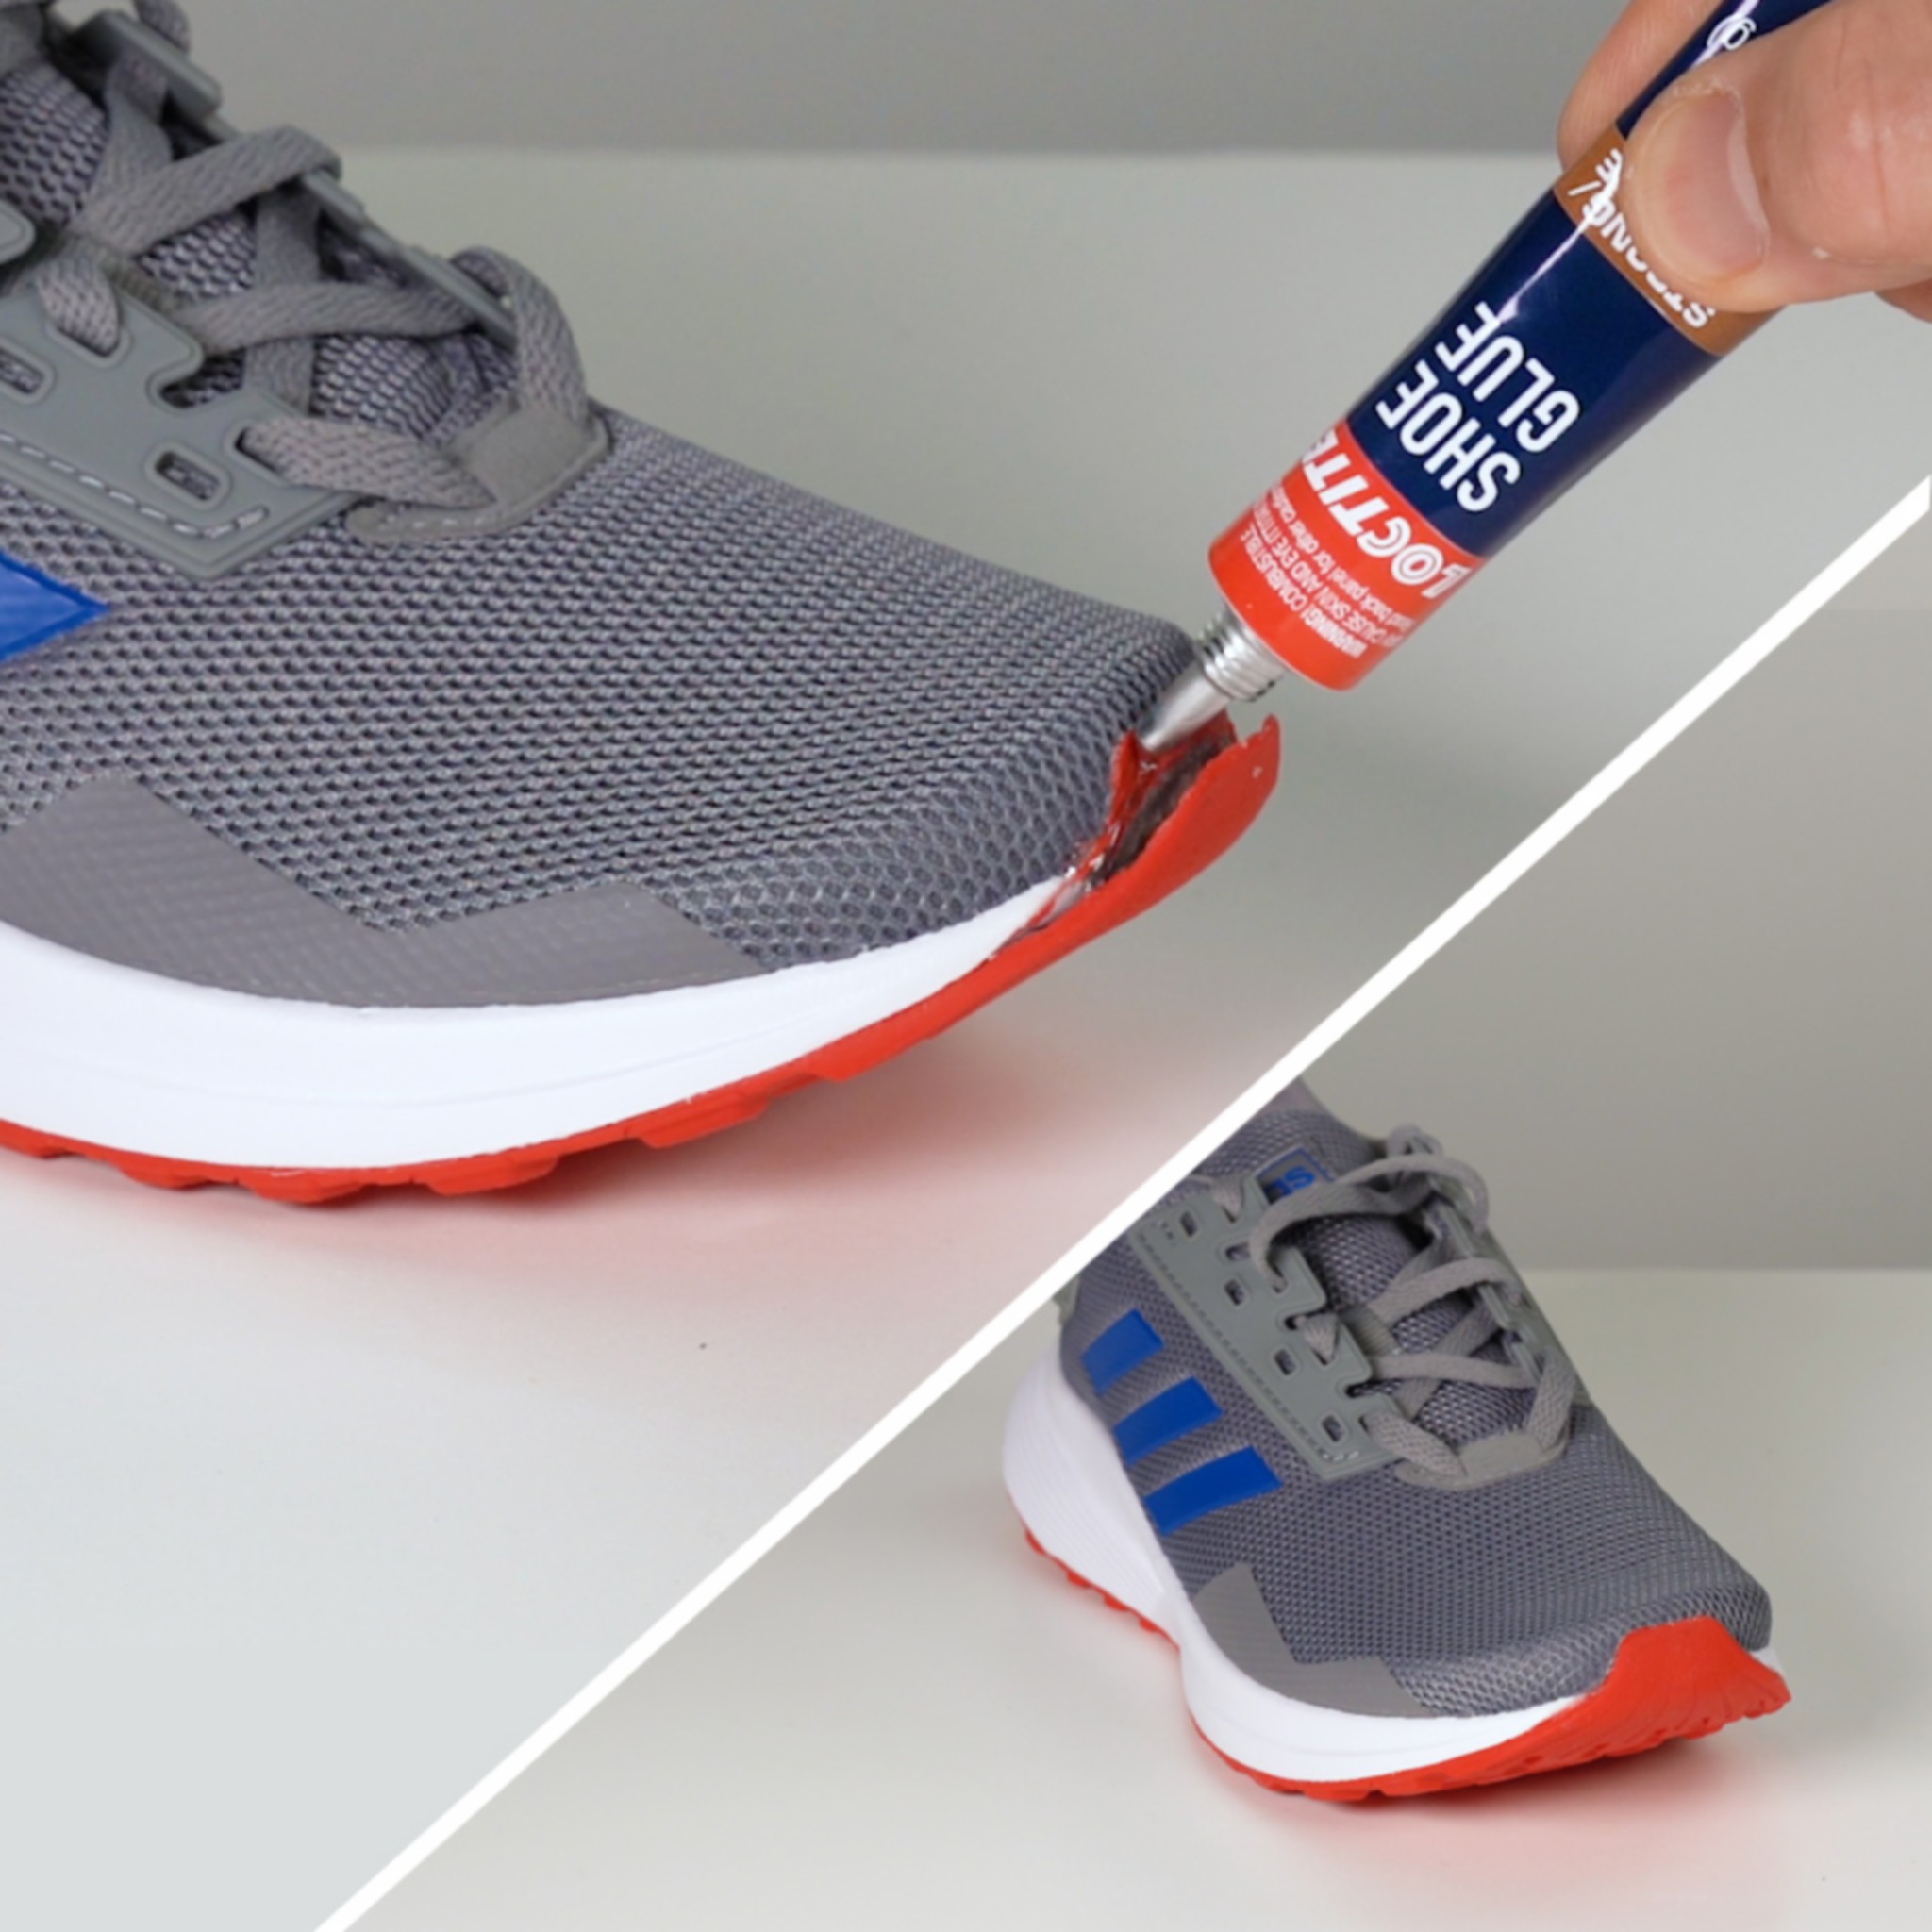
Applying The Glue
Once you’ve pinpointed the damage, it’s time to apply the right type of glue. For detached soles or heels, a strong adhesive like polyurethane glue is ideal. Apply the glue sparingly and evenly to both surfaces that need to be bonded, ensuring complete coverage for a secure repair.
Pressing The Affected Area Together
After applying the glue, carefully press the affected area together to create a firm bond. Use clamps or heavy objects to hold the repaired sections in place, ensuring that the pressure applied is uniform for a strong and lasting bond.
Allowing Time For The Glue To Dry
Once the affected area is properly pressed together, allow sufficient time for the glue to dry and form a strong bond. Follow the manufacturer’s instructions regarding drying time, and avoid wearing the repaired shoes until the glue has fully set to ensure a durable and effective repair.
Credit: www.loctiteproducts.com
Tips For Successful Shoe Repairs
Using The Right Amount Of Glue
Apply a thin, even layer of glue to avoid excess that can seep out.
Working In A Well-ventilated Area
Ensure good airflow to prevent inhaling fumes from the adhesive.
Avoiding Overuse Of Glue
Using too much glue can lead to messiness and weaken the bond.
When To Seek Professional Help
When your shoes need repair, it’s best to seek professional help. Fixing shoes with glue can be tricky, and a professional can ensure a lasting and secure bond for your footwear.
When to Seek Professional Help While fixing shoes with glue can be a quick and easy solution for minor damages, there are instances where seeking professional help is necessary. It is important to know the signs of major shoe damage and when glue is not enough. H3: Signs of Major Shoe Damage Before attempting to fix your shoes with glue, it is important to assess the extent of the damage. Here are some signs that indicate major shoe damage: – Torn or ripped shoe sole – Severely damaged or detached heel – Large holes or tears in the upper part of the shoe – Damage to the shoe’s structure, such as bent or broken supports If you notice any of these signs, it is best to seek professional help. Attempting to fix these damages on your own may only worsen the problem or cause further damage to your shoes. H3: When Glue is Not Enough While glue can be a quick fix for minor damages, there are instances where it is not enough. Here are some situations where you should consider seeking professional help: – If the damage is extensive or affects the shoe’s structure – If the glue does not hold or the damage reoccurs after multiple attempts – If the shoe is a valuable or expensive pair that requires professional care It is important to know your limitations when it comes to repairing your shoes. Attempting to fix major damages on your own may only lead to more problems or even render your shoes irreparable. In conclusion, while fixing shoes with glue can be a cost-effective solution for minor damages, it is important to know when to seek professional help. Knowing the signs of major shoe damage and when glue is not enough can help you make an informed decision when it comes to repairing your shoes.
Credit: www.amazon.com
Frequently Asked Questions
Can You Use Glue To Fix Shoes?
Yes, you can use glue to fix shoes. It is an effective way to repair minor damages quickly.
Can You Use A Glue Gun To Fix Shoes?
Yes, a glue gun can be used to fix shoes by applying adhesive to the damaged areas.
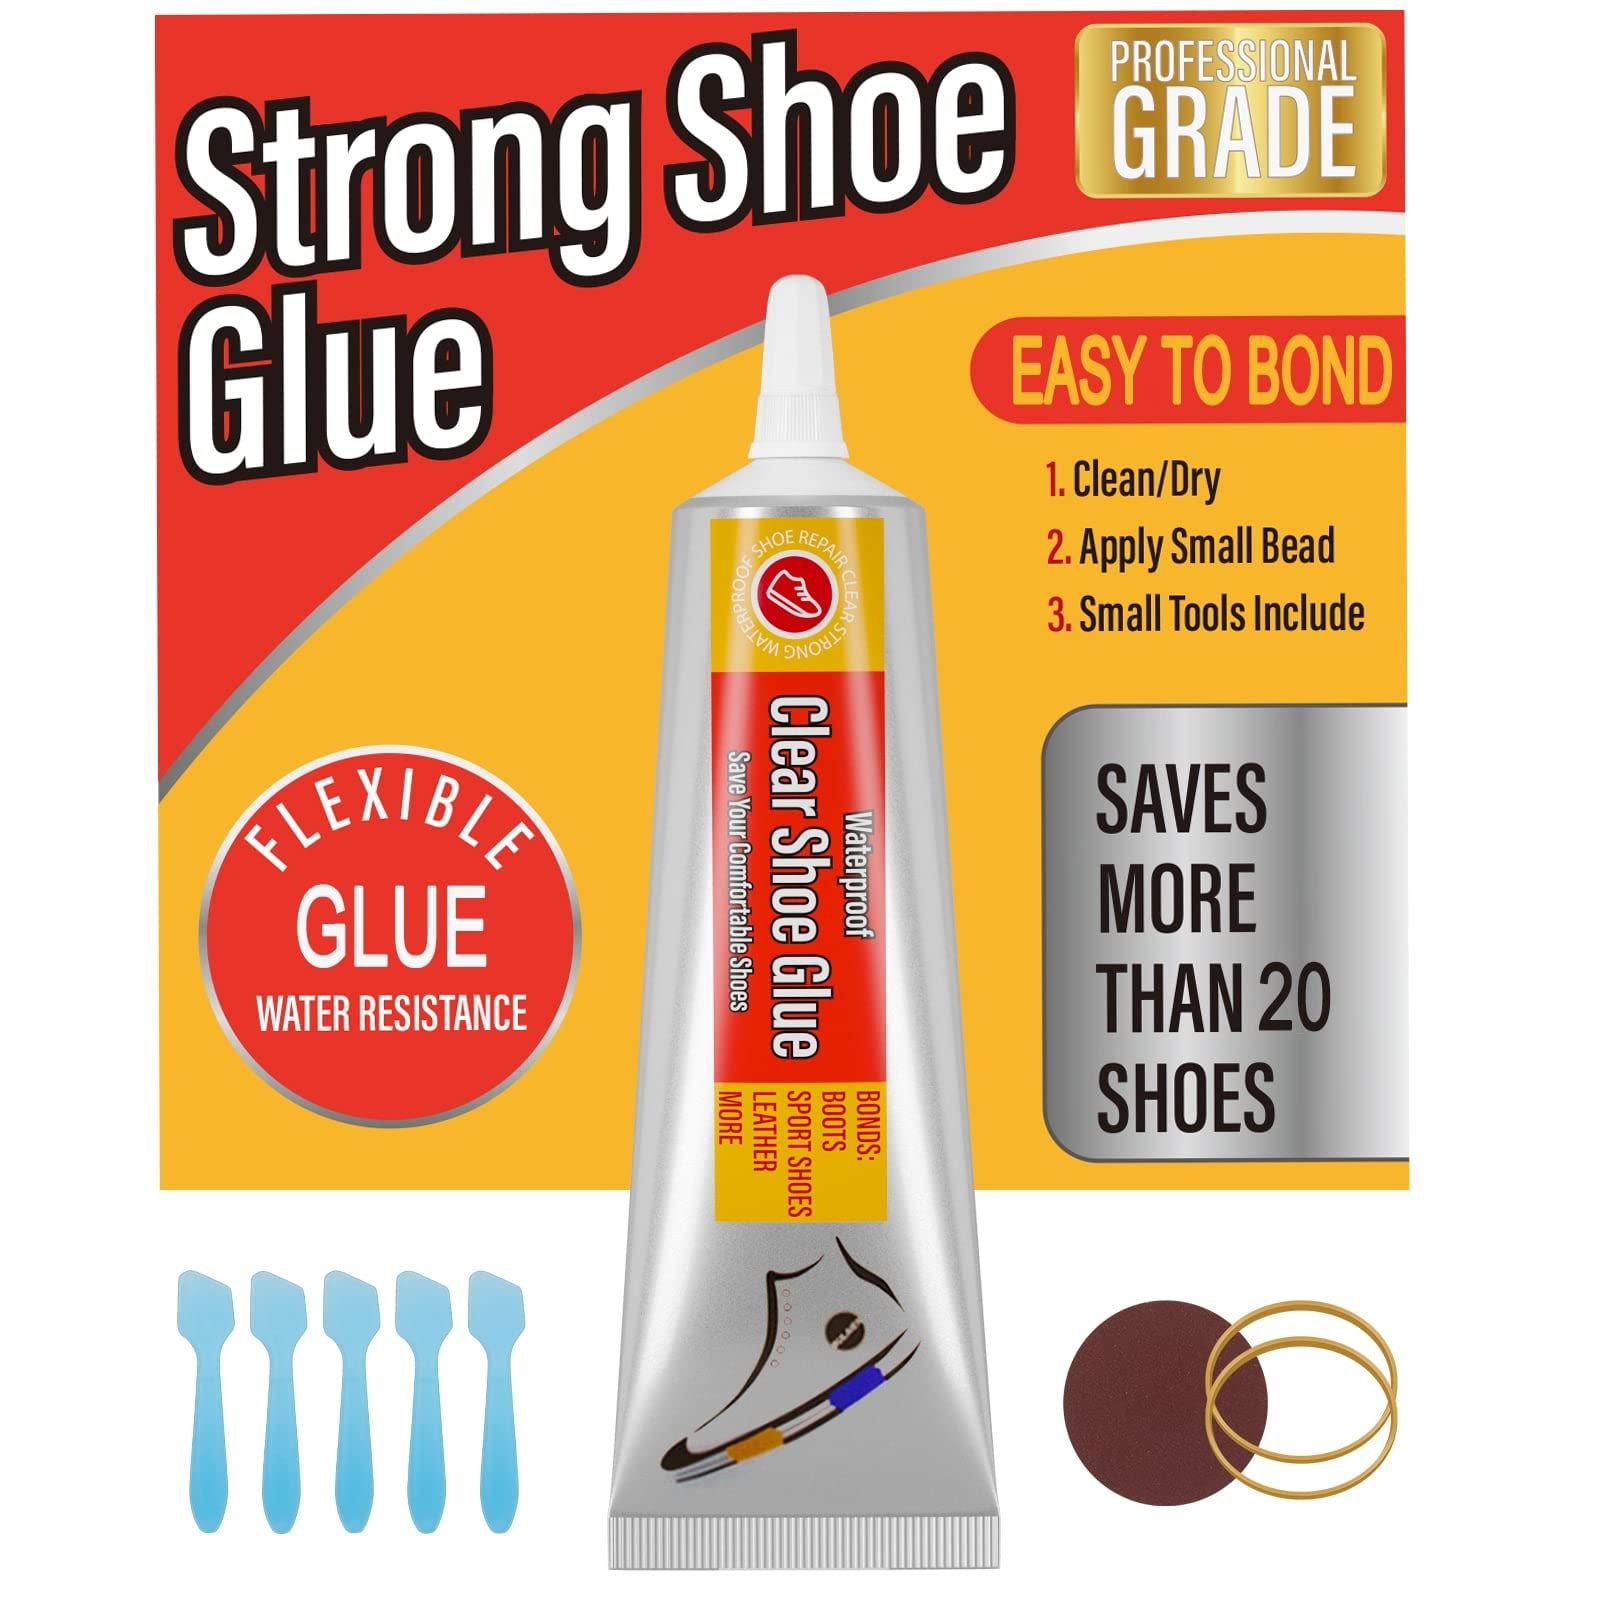
How To Use Strong Shoe Glue?
To use strong shoe glue, clean and dry the surfaces, apply glue evenly, press firmly, and let dry completely.
What Kind Of Glue Is Used In Shoe Making?
Shoe making often uses solvent-based adhesives like polyurethane and rubber cement for bonding various shoe materials together.
Conclusion
In short, fixing shoes with glue is a cost-effective and practical solution for common issues like sole separation and loose seams. By following the simple steps outlined in this guide, you can extend the life of your favorite footwear and save money on unnecessary replacements.
With the right adhesive and technique, you can easily tackle minor shoe repairs at home, ensuring your shoes stay in great shape for longer.